


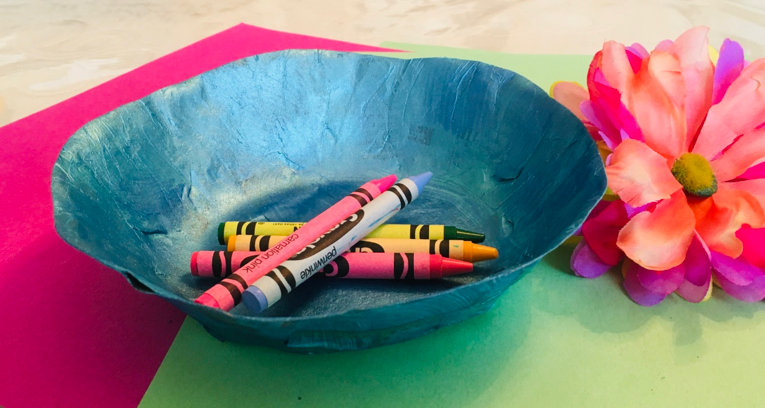

Learn how to make a simple paper bowl out of house-hold materials. This up-cycled craft is fun to do for all ages. Let your creativity shine!
Papier-mâché is the mixing of paper and a paste, often made of flour or glue, to create a form that will harden as it dries.
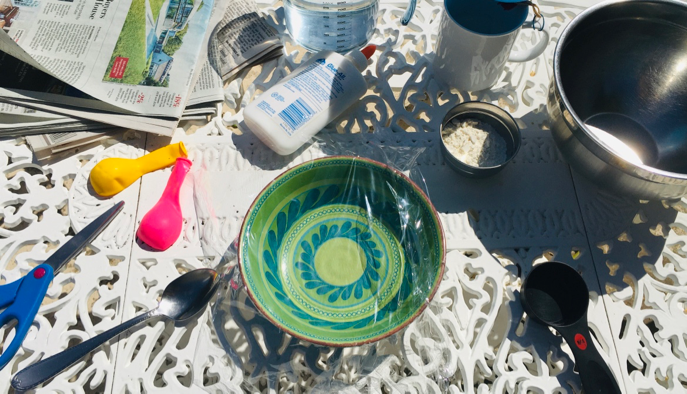
Supplies
To make the bowl:
bowl (you will use a bowl you already have as a mold for your new bowl)
plastic wrap or a plastic bag & tape
newspaper/magazines/old notebook pages/lightweight scrap paper of any kind cut into strips
liquid glue or flour
mixing bowl
spoon to mix
water
butter knife
To decorate:
paint, acrylic, tempera, poster, etc.
plate or container for the paint
brush
scissor
*if you want you can try to make a paper bowl using a balloon, but it is easier using a real bowl as the mold
Instructions
To make the bowl:
- Cover your work area with paper or trash bags to make clean up easier
- Wrap the bottom of your bowl in plastic wrap or wrap it in a plastic bag and secure it with tape on the inside of the bowl (make sure the bottom of your bowl is as smooth as possible)
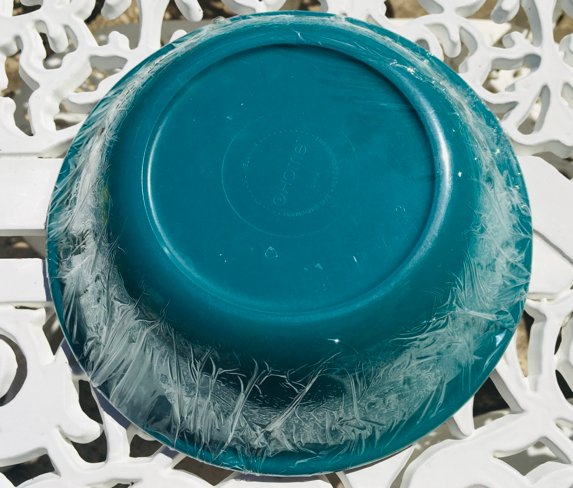
*This layer will protect your bowl
- Tear or cut strips of your chosen paper
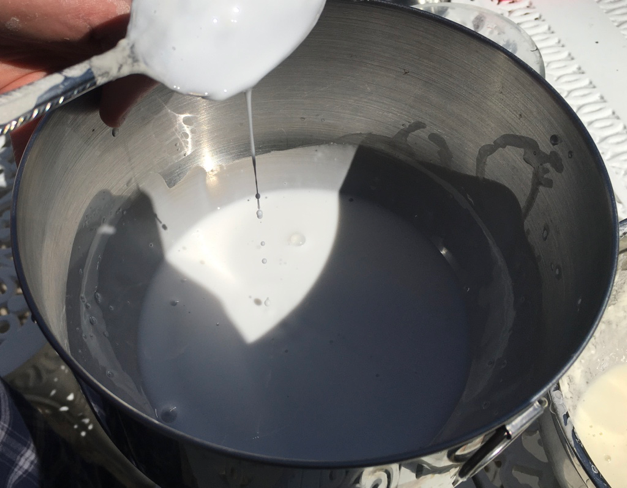
- If you’re using flour and water use a 1:1 ratio, add the ingredients in you mixing bowl and stir, add more water as needed to make a runny consistency

If you’re using liquid glue and water use a 1:1 ratio as well, and add more water until it is runny
- Dip a strip of paper into the mix and pull it out, pinching it between two of your fingers to remove the excess mixture
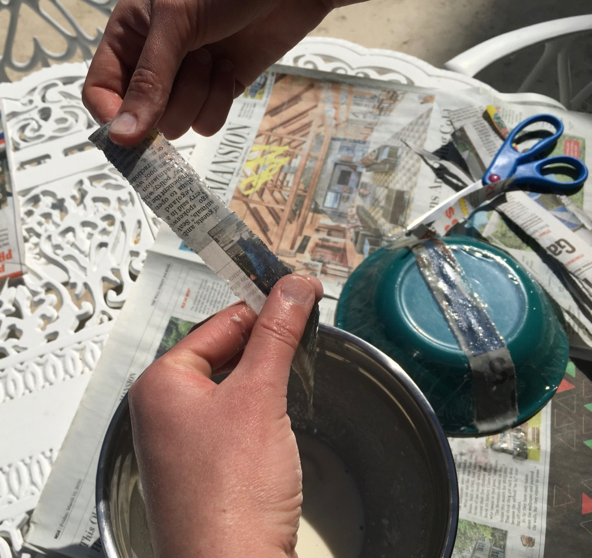
- Lay the strip across the back of the bowl
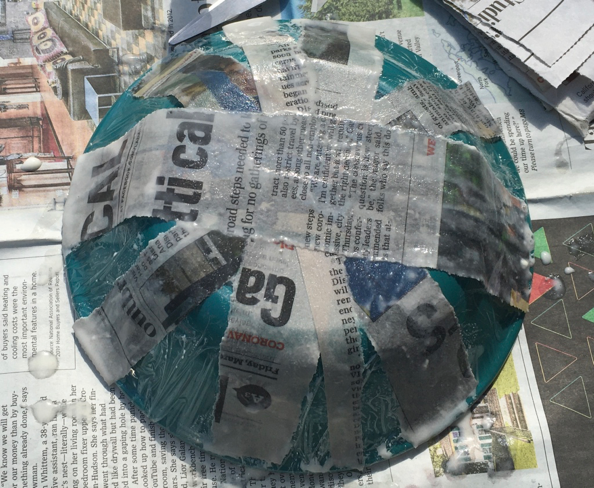
- Repeat these steps until you have covered the surface of the bowl 2-3 times

- Leave the bowl to dry for approximately 24 hours, make sure it is completely dry
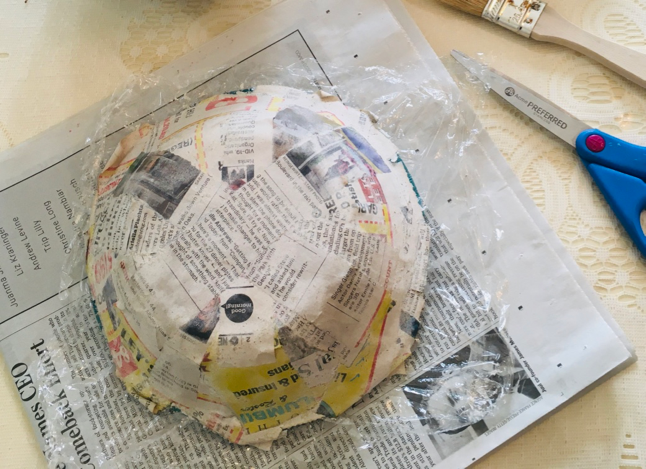
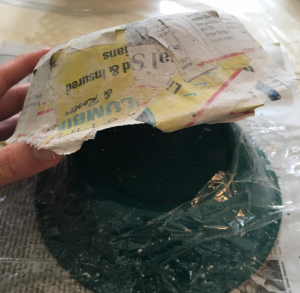
- When it is dry, gently test the edges to see if the paper bowl will loosen from the plastic covering. If it is too tight, gently work a butter knife between the paper bowl and the plastic to loosen it

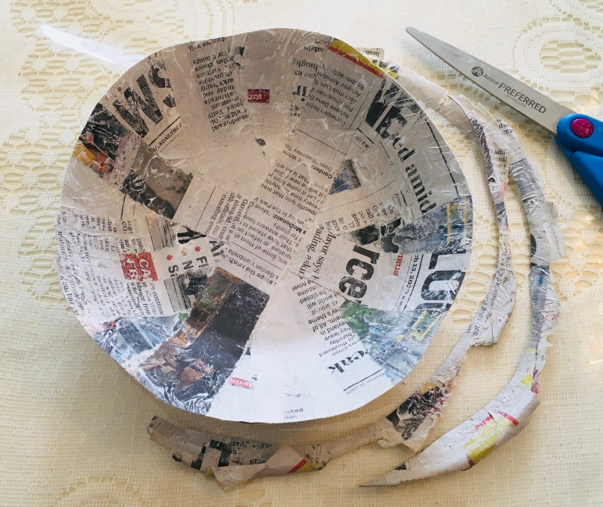
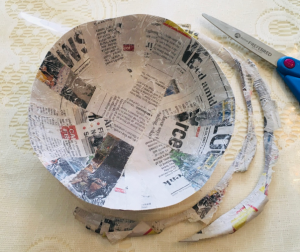
- Trim the edges with a scissor, you can keep the edge straight or cut a pattern into it
To decorate:
- Cover your work area for easier cleanup
- Choose the colors you would like and add them to a dish
- Flip the paper bowl upside down and paint the bottom of the bowl with gentle strokes
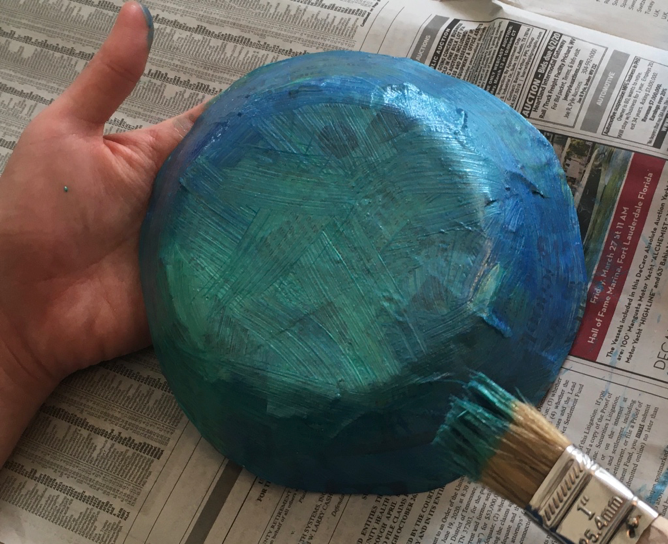
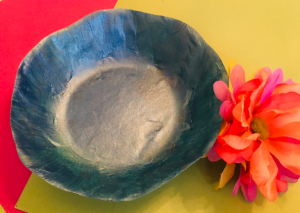
- Paint one coat and let it dry before adding a second coat (I only used one coat in the sample photos because I like to see a little of the newsprint)
- Once the bottom of the bowl is completely dry turn it over and paint the inside of the bowl

- Again, if you want to add a second coat wait until the first layer dries completely
- Once your paper bowl is dry you can use it as decorative piece around your home
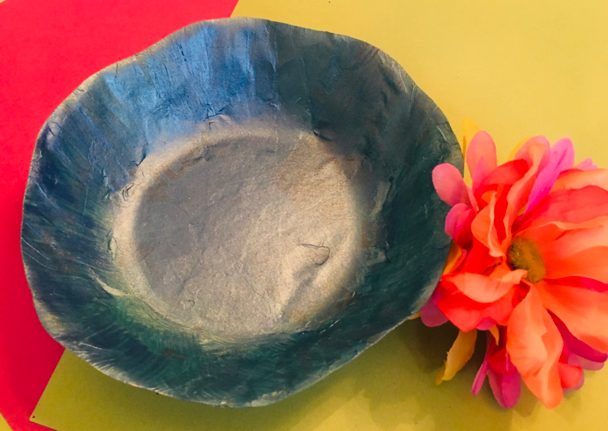
*the paper bowl is not food safe and cannot carry heavy items or liquids, but you can fill it with small trinkets, toys, craft supplies, or whatever you like

Looking for more fun crafts? Check out our free eBooks on Overdrive
Looking for more entertaining activities to do from home? Join our Spring Reading Program — It’s free! Track your reading, play games, and complete cool missions!
Haga Recipientes o Platos de Papel Maché
Aprenda a hacer un plato o recipiente o tazón de papel simple con materiales domésticos. Este es un trabajo manual hecho con material reciclado que puede ser divertido para todas las edades. ¡Deja brillar tu creatividad!
El papel maché es creado de papel y mezcla hecha de harina o pegamento, para crear una forma que se seque o endurezca rápido.
Materiales
Para el Recipiente:
Recipiente o Tazón (usará un recipiente que ya tiene como molde para su nuevo tazón)
Envoltura de plástico o una bolsa de plástico y cinta
Periódicos/revistas/páginas de cuaderno viejas/papel de desecho de cualquier tipo cortado en tiras
Pegamento líquido o harina
Tazón para mezclar
Cuchara para mezclar
Agua
Cuchillo sin filo
Para Decorar:
pintura, acrílico, tempera, póster, etc.
plato o recipiente para la pintura
cepillo
tijeras
* Si lo desea, puede intentar hacer un globo de papel maché, pero es más fácil hacer un recipiente o plato o tazón utilizando un recipiente real como molde.
Instrucciones
Para hacer el recipiente o tazón:
- Cubra el área de trabajo con bolsas de papel o plástico para facilitar la limpieza.
- Envuelva el fondo de su recipiente o tazón con una envoltura de plástico o envuélvalo en una bolsa plástica y asegúrelo con cinta adhesiva en el interior del tazón (asegúrese de que el fondo de su tazón o recipiente esté lo más parejo o suave posible)
* Esta capa protegerá su recipiente o tazón molde
- Rasgue o corte tiras del papel seleccionado
- Si usa mezcla de harina y agua, use una proporción 1: 1, agregue los ingredientes en su recipiente y revuelva, agregue más agua según sea necesario para obtener una consistencia líquida
Si usa mezcla de pegamento líquido y agua, use también una proporción 1: 1 y agregue más agua hasta que la mezcla esté líquida
- Sumerja una tira de papel en la mezcla y extráigala, eliminando el exceso de mezcla entre los dedos.

- Coloque tiras de papel en la parte posterior del recipiente o tazó.

- Repita estos pasos hasta que haya cubierto la superficie del recipiente o tazón 2-3 veces
- Deje que el recipiente o tazón se seque durante aproximadamente 24 horas; asegúrese de que esté completamente seco
- Cuando esté seco, pruebe suavemente los bordes para ver si el recipiente de papel se despegará de la cubierta de plástico. Si está demasiado apretado, utilizando un cuchillo sin filo mueva suavemente entre el tazón de papel y el plástico para despegarlo.
- Recorte los bordes con una tijera, puede mantener el borde recto o cortar un patrón en la orilla.
Para decorar:
- Cubra el área de trabajo para limpiar más fácilmente cuando termine
- Seleccione el color de pintura que desea y agréguelo al recipiente o tazón
- Voltee el recipiente o tazón de papel boca abajo y pinte el fondo del tazón con movimientos suaves.

- Pinte una capa y déjela secar antes de agregar una segunda capa (si usted prefiere ver las letras impresas o el diseño del papel periódico solo dele una capa de pintura)
- Una vez que el fondo del recipiente esté completamente seco, déle la vuelta y pinte el interior del recipiente.
- Nuevamente, si desea agregar una segunda capa, espere hasta que la primera capa se seque por completo.
- Una vez que su recipiente de papel esté seco, puede usarlo como una pieza decorativa alrededor de su hogar.
* el recipiente o tazón de papel maché no es seguro para alimentos y no puede transportar artículos pesados o líquidos, pero puede llenarlo con pequeñas baratijas, juguetes, materiales para manualidades o lo que quiera
¿Estás buscando más manualidades divertidas? Echa un vistazo a nuestros libros electrónicos gratuitos en Overdrive
¿Estás buscando más actividades de entretenimiento para hacer desde casa? Regístrate en nuestro Programa de Lectura de Primavera: ¡es gratis! ¡Sigue tu lectura, juega juegos y completa misiones !